Page cover
For the complete documentation index, see llms.txt. This page is also available as Markdown.

Integrating with HiBob

Prerequisites

Please ensure you fulfill the requirement to set up the integration:

  • You have Administrator permissions in your company's HiBob instance

HiBob Setup

To authenticate HiBob using a Service Account, you will need to provide the following information:

  • Service Account User ID

  • Service Account Token

Step One: Create the service user in your HiBob account

  1. Navigate to your HiBob System Settings

  1. In settings, go to integrations and click Manage Service Users.

  1. Next click on Create Service User to create a new service user and enter the display name as 'Drivetrain Integration' and click Create.

  2. On the next screen, HiBob display the credentials for your new service user. Make a note of the Service User ID and Token. You can name the new service user then click on Go to permission groups and proceed with the next step.

Step Two: Create a permission group

  1. Click Add permission group, then Service user

  1. Name the group as 'Drivetrain Integration' and select your new service user ("Drivetrain Integration") under Select service users and click Create and asked to confirm the changes, click Confirm

  2. Switch to the People's data tab of the new Permission Group, pick "Select people by condition" under Whose data can members access?, then click on Edit to select the people the integration can access

  1. In the Select people by condition pop-up, select all relevant Lifecycle Statuses. In most scenarios this will include Hired, Employed, and Terminated. Click Apply twice once done:

  1. Under People's Data add the following permissions:

Please note the permissions below are the required permissions for the full HRIS API. You only need to configure the permissions based on your use case

  • People > Basic Info

    • View selected employees' Basic info sections (This is required to surface employees)

  • People > Employment

    • View selected employees' Employment sections

    • View selected employees' Employment section histories

  • People > History

    • View selected employees' profile changes history

  • People > Identification

    • View selected employees' Identification sections

    • Edit selected employees' Identification sections (only applicable if you want full unobscured SSN numbers.)

  • People > Lifecycle

    • View selected employees' Lifecycle sections (This is needed to surface Employment Status)

    • Edit selected employees' Lifecycle sections

    • View selected employees' Lifecycle section histories

  • People > Personal

    • View selected employees' Personal sections

    • Edit selected employees' Personal sections (Note: This is needed to surface Date of Birth. We will NOT edit any employee sections)

  • People > Personal contact details

    • View selected employees' Personal contact details sections

    • Edit selected employees' Personal contact details sections

  • People > Work

    • View selected employees' Work sections

    • View selected employees' Work section histories

  • People > Work contact details

    • View selected employees' Work contact details sections

If you do not require Payroll, Address, EEO, Home, or Time Off, to reflect in Drivetrain, you do not need to include those, you can ignore the below permissions

  • People > Address

    • View selected employees' Address sections

    • View selected employees' Address section histories

  • People > EEO

    • View selected employees' EEO sections

  • People > Home

    • View selected employees' Home sections

  • People > Payroll

    • View selected employees' Payroll sections

    • View selected employees' Payroll section histories

  • Timeoff > Balance

    • See selected people's time off and sick leave balances

  • Timeoff > Requests

    • Create, edit, and cancel people's requests that haven't been approved yet

    • Edit and cancel people's future requests that have been approved

    • Edit and cancel people's past requests that have been approved

    • View, approve or decline requests that are pending approval of others

  • Timeoff > See who's out today

    • See who's out today

Once done adding the above permissions, finish creating the Permission Group by selecting Save.


Drivetrain Setup

After creating your HiBob service user and permission group (above), connect HiBob as a data source in your Drivetrain instance. You must be a Drivetrain administrator to add a data source.

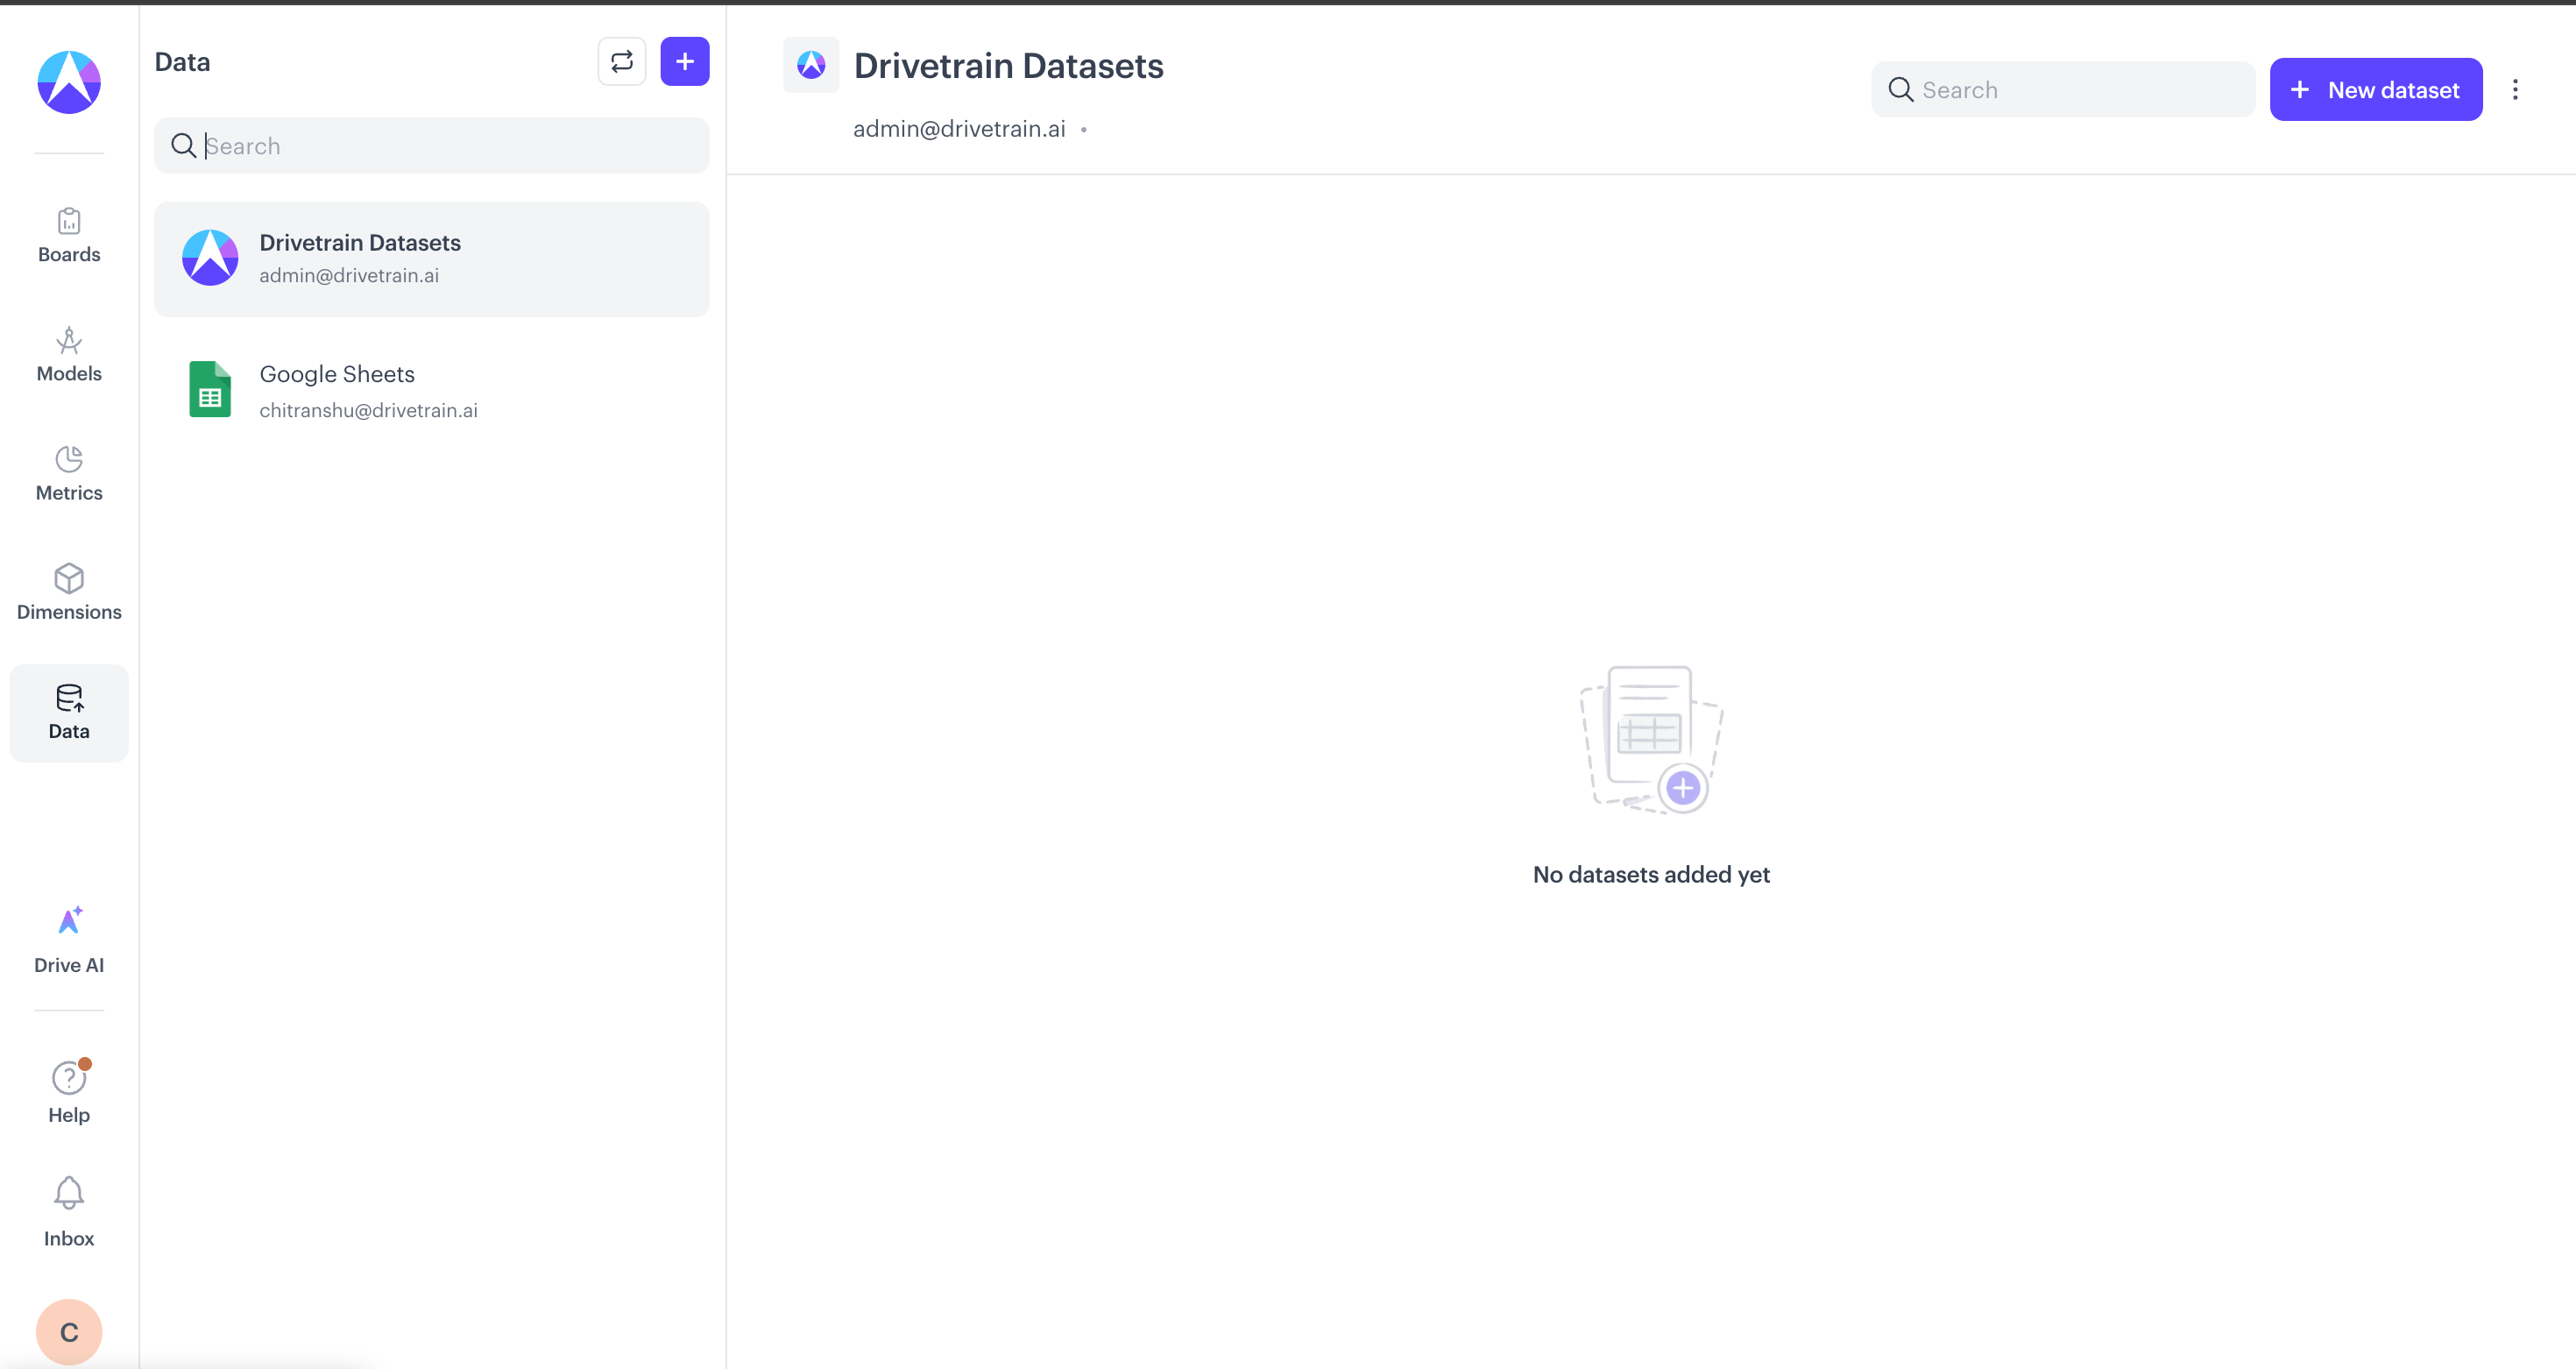
Step 1: Go to the Data page and add a data source

  1. Sign in to your Drivetrain instance as an administrator.

  2. In the left navigation, click Data.

  3. At the top of the data sources panel, click the + (Add data source) button.

Step 2: Select the HiBob connector

  1. In the Connect a datasource window, search for bob (or open the HRIS & ATS category).

  2. Click the HiBob connector card.

Step 3: Enter your Hibob credentials

On the Connect your Hibob account screen, set up a new Hibob connection:

  1. Service Account Id — your HiBob Service User ID

  2. Service Account Password — your HiBob Token

  3. Click Submit.

Step 4: Finish setup

  1. Once the credentials are validated, the connection is created and you are returned to the Data page.

  2. HiBob now appears in your list of connected data sources and begins syncing.

  3. When the sync completes, your HiBob data is available across Drivetrain.

If you have any questions or run into any issues during setup, please contact your customer success manager for assistance.

Last updated

Was this helpful?